Showing posts with label pumpkin. Show all posts

Sunday, September 30, 2012

Pumpkin Scones with Do-it-Yourself Cinnamon Chips


Ahh, yes, cinnamon chips. They were one of those newish ingredients I was loathe to try when they first appeared in the grocery store a couple of years ago, because they just sounded too fake to me. I envisioned little waxy textured, synthetically-flavored dots of hardened goo. It wasn't hard to tamp down what was a very moderate curiosity to begin with. I passed them by in the market week after week. No backward glance. Something--I knew not what--would have to legitimize cinnamon chips before I would trade cold hard cash to procure them.


And then, about a year and a half ago, I discovered King Arthur Flour's mini-cinnamon chips--better in quality than what I'd seen at the grocery store, no doubt. I bought a small bag, tested them out in a recipe, and found they were actually pretty darn good. So good, in fact, that I was miffed to realize I was completely out of them when I began assembling my ingredients to make these pumpkin scones the other day.  Not a single King Arthur cinnamon chip to be found on the premises. My choices? Use something besides cinnamon chips in the scones (mini chocolate chips? chopped candied ginger? chopped pecans or walnuts? raisins?); leave them plain (still good, but boring); or take a stab at making my own quick-and-easy chips at home. I picked the Do-It-Yourself option.


I had a sizable chunk of Callebaut white chocolate on hand, so I cut off a modest wedge, melted it slowly and carefully in the microwave, mixed in a scant teaspoon of ground cinnamon, spread the mixture thinly onto a piece of plastic wrap, sprinkled more cinnamon over that, laid another piece of plastic wrap over that, and slid it into the freezer for less than five minutes. Once rigid as a board, I broke the cinnamon-chips-to-be into a zillion tiny pieces, added them into my scone batter, and voila! Homemade cinnamon chips in homemade pumpkin scones. Sensational.

What, I ask you, is autumn without a nice warm batch of pumpkin scones cooling on the kitchen table? I dare not think.


About this recipe . . . 

Adapted from a King Arthur recipe aptly titled Harvest Pumpkin Scones, I made only a couple of small changes to the formula. I used a little more pumpkin than called for, along with a smidgen of 1/2 and 1/2; my dough, otherwise, would have been extremely dry. I also reduced the amount of allspice by half. I used homemade cinnamon chips, and I reworded the recipe to reflect my actual steps.

Pumpkin Scones with Do-it-Yourself Cinnamon Chips

(For a printable version of this recipe, click here!)

Yield: 8 large scones.

No mixer needed for this recipe (yay!).

Ingredients for the homemade cinnamon chips:

3 oz. of good quality white chocolate, or white chocolate chips
1 teaspoon ground cinnamon
and
1/2 teaspoon ground cinnamon

Ingredients for the scone dough:

2 and 3/4 cups unbleached all-purpose flour
1/3 cup granulated sugar
1 tablespoon baking powder
3/4 teaspoon fine sea salt
3/4 teaspoon ground cinnamon
1/4 teaspoon ground ginger
1/4 teaspoon ground nutmeg (I use fresh grated, and buy the whole nutmeg at a Penzey's spice store.)
1/8 teaspoon allspice
1/2 cup (1 stick) cold butter, cut into 1/2 inch chunks
3/4 cup canned pumpkin
1 tablespoon 1/2 &1/2 (or use milk)
2 eggs, large

A few tablespoons coarse white sugar (aka sanding sugar) to sprinkle on the scones before baking
2 tablespoons of 1/2 &1/2 or milk

To make the cinnamon chips:

Melt the white chocolate slowly and carefully in your microwave, or melt it in a small bowl set over a pan of simmering water on the stove. If you do it on the stove, be sure no water at all gets into the bowl with the white chocolate. Stir the 1 teaspoon of cinnamon into the melted white chocolate thoroughly. Spread out a small sheet of plastic wrap on a flat surface. While the chocolate is still very warm, spread it out thinly on the plastic wrap using a spatula or bowl scraper. Sprinkle the 1/2 teaspoon of cinnamon over that. Cover it with another sheet of plastic wrap. Put it in the freezer for five minutes. Take it out when it's stiff as a board. Break it up into mini-chip-size pieces.

To make the scone dough:

Whisk together, in a large mixing bowl, the flour, granulated sugar, baking powder, salt, cinnamon, ginger, nutmeg, and allspice.

Using a pastry blender, a fork, or even your fingers, work the butter into the dry ingredients until crumbly. It's fine if some small lumps remain. Toss all of the homemade cinnamon chips in and stir to combine.

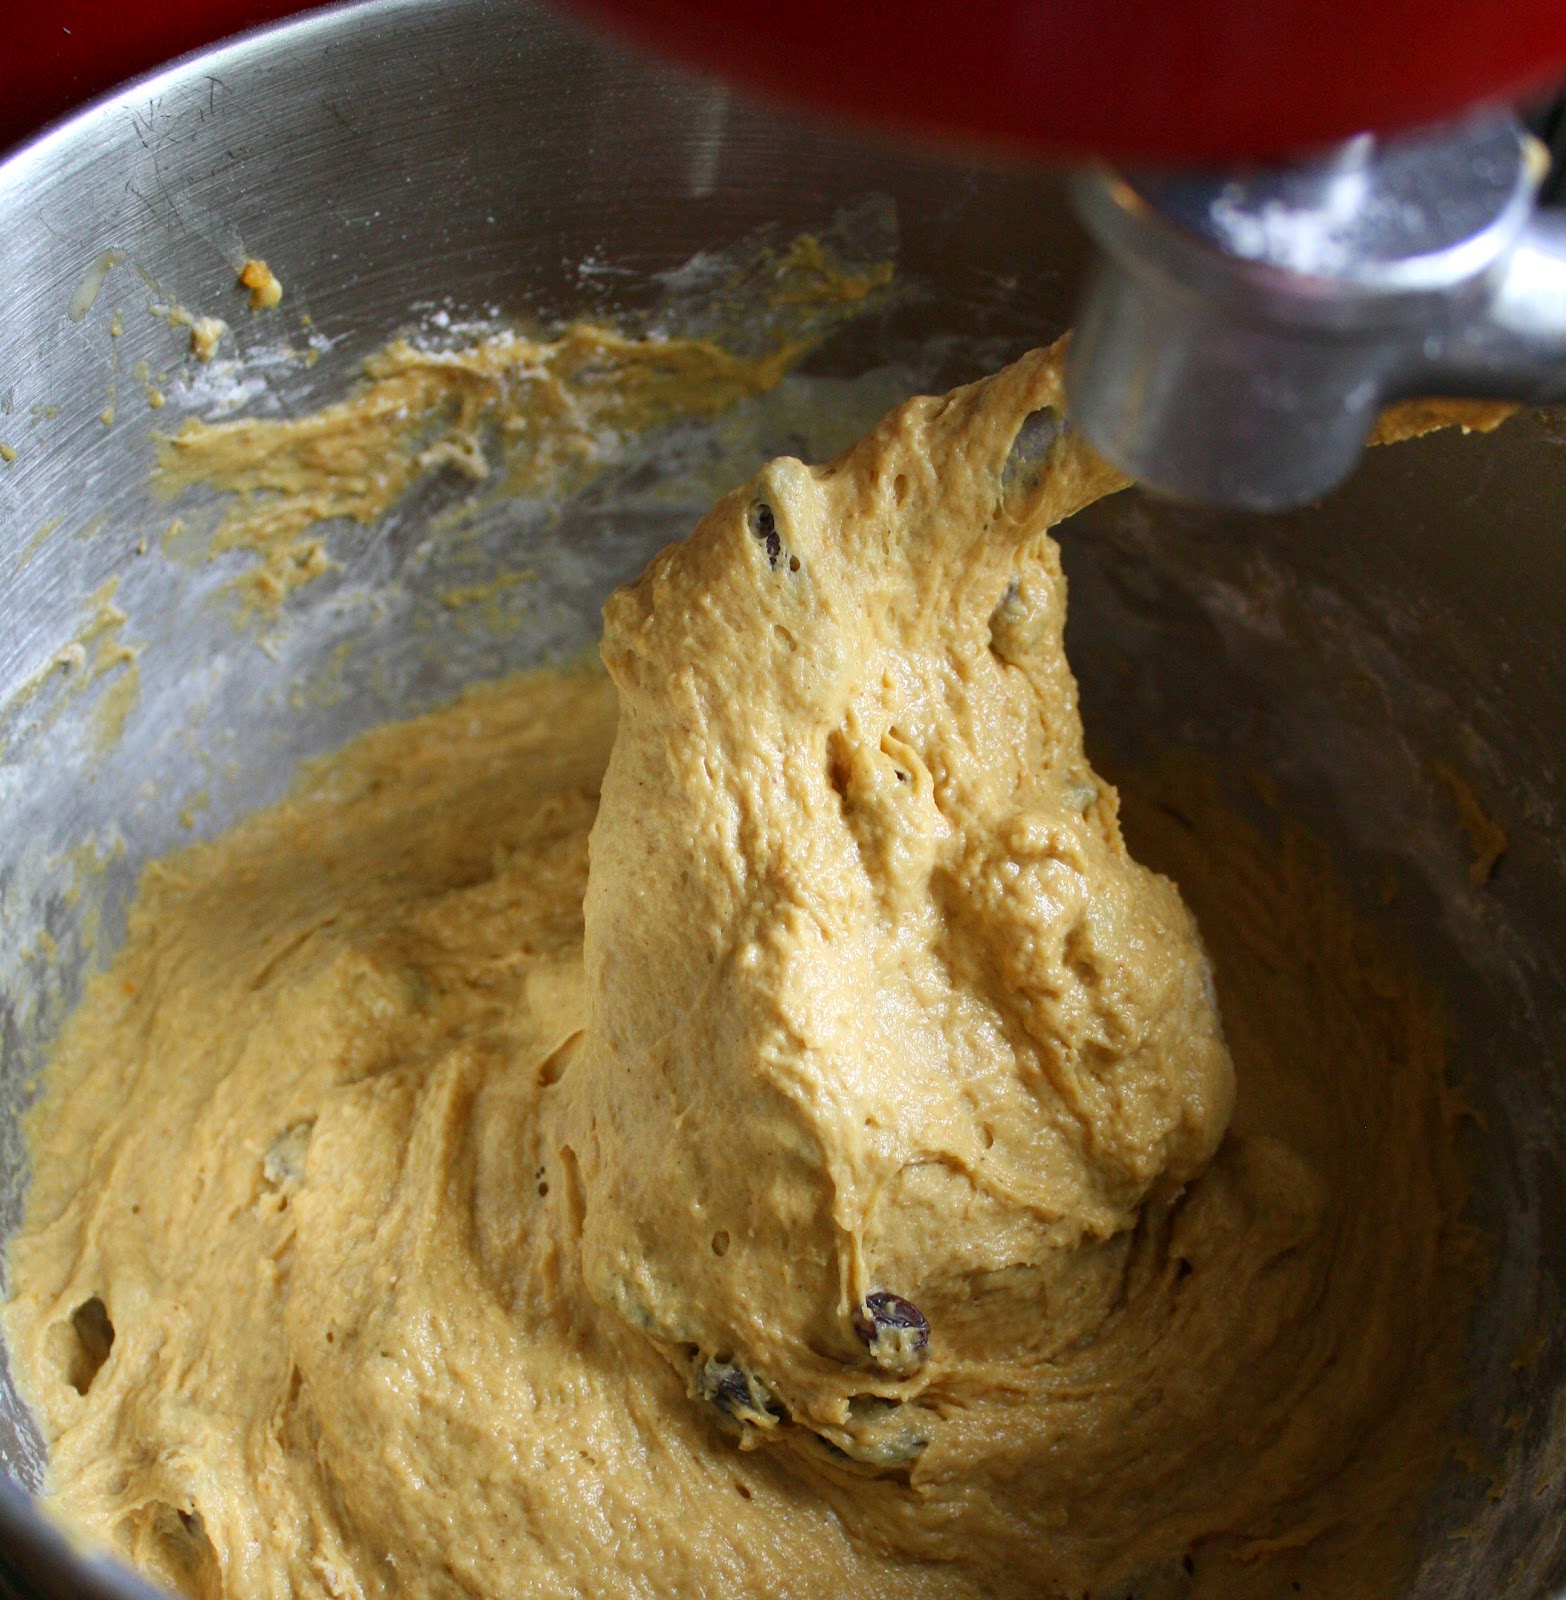
In another bowl, whisk together the eggs and canned pumpkin. Pour all of this into the bowl of dry ingredients and stir until it comes together into a solid dough.

Turn the dough out onto a lightly floured surface, and pat it into a ball.

Press the dough with your hands into a large circle, at least 10 inches in diameter and 3/4" thick. Using a sharp knife or a pastry wheel, cut the circle, pie-style, into 8 even triangles. Lay the triangles on a parchment covered baking sheet. I bake my scones so they're not sitting right next to each other, and they have a chance get golden brown all over; you may also choose to bake them about 1/2" apart from each other so they'll end up slightly attached and less crispy on the sides. Brush the tops of each one with half and half, and sprinkle generously with coarse/sanding sugar or regular granulated sugar (coarse sugar will be more sparkly, once baked).

Preheat your oven to 400 degrees. Now put the scones, still on the baking sheet, into the freezer for about 20 minutes. (This step is a recommendation from KAF, and I think it really does seem to add to the scones' oven spring. They puff up nicely.)

Bake the scones for at least 20 minutes. They are done when they're golden brown, and a toothpick inserted in the thickest part comes out completely clean. Serve them warm or cold. Best the first day, but still pretty good the second!


(If you'd like to comment on this post, or to read any existing comments, please click the purple COMMENTS below.)

Friday, September 7, 2012

Pumpkin Yeast Bread . . . with Autumn Spices & Raisins


You bake all the time, right? So maybe you've experienced this phenomenon and, if so, I'll bet it's absolutely warmed your apron strings as much as it has mine. You're wandering the aisles of a grocery store or bakery, sitting in a restaurant, or maybe even scanning the treats at a bake sale, and someone in your family--a kid, a spouse, a sibling--looks at you and pointedly remarks, "I realize I've become a real snob about cookies/cakes/bread/pastries because the stuff you make at home is so much better than anything I can buy."


In response, you just smile and murmur humbly, "Oh thanks, that's really nice of you to say." In your head, though, you're raising your fists in triumph and shouting, "Yes! Now that's what I want to hear!"


It's just the best kind of compliment for a home-baker to receive, don't you think? I never get tired of hearing that.

Let's make snobs of 'em all. Surreptitiously, of course. Are you with me?


About this recipe . . . 

Adapted from a King Arthur Flour recipe, I didn't veer far from the original formula but did make a few minor adjustments. Instead of using ground ginger and cardamom, I omitted the cardamom altogether and used finely diced candied ginger. I added in a freshly grated nutmeg, a pinch of ground cloves, and I increased the amount of cinnamon. Also, I decided to toss in dark raisins near the end of the main mixing cycle and, once baked, I drizzled a thin white icing atop one of my loaves while it was still slightly warm, leaving the other one plain.


This recipe makes a very sticky dough that cries out for more flour than King Arthur indicates, an all too common scenario that will test any baker's powers of restraint. The more flour you add in, the less soft and tender the loaf will probably turn out to be, but the less flour you use the messier and less cooperative the process promises to be from start to finish. Without going overboard, I added in just enough extra flour to make the dough workable once it reached the stage where I wanted to knead it by hand, out of the mixer bowl. So just use your own judgment and, in this case, remember that softer dough equals softer bread.


This fragrant yeast bread is slightly sweet. Great eaten plain when extremely fresh, or toasted and buttered in the days following. While it's baking, your house will smell like a cozy autumn afternoon, lightly spiced. I wouldn't hesitate to make this again.


Pumpkin Yeast Bread . . . with Autumn Spices &Raisins

(For a printable copy of this recipe, click here!)

Yield: Two generous standard size loaves

Ingredients for the bread:
1/2 cup warm water
1 and 1/2 tablespoons instant yeast (I used instant, but if you want to use active dry instead, use two standard size packages and proof it in the warm water.)
2/3 cup warm milk (I used 2 percent, and warmed it slightly in the microwave.)
2 large eggs, well beaten with a fork
1 and 1/2 cups pumpkin (I used canned pumpkin.)
2 tablespoons vegetable oil (I used canola oil.)
6 and 1/2 to 7 and 1/2 cups unbleached all-purpose flour (I gently whisked it before measuring.)
1/2 cup brown sugar (I used dark brown sugar.)
1 cup dark raisins
2 teaspoon salt (I used sea salt.)
1 tablespoon finely chopped candied ginger
1 teaspoon ground cinnamon
1/4 teaspoon ground nutmeg (I used freshly grated.)
1 pinch ground cloves

3 tablespoons unsalted butter (to melt and brush onto the top of the just-baked loaves)

For the glaze:
About 2 cups confectioner's sugar
About 2 to 4 tablespoons water or milk

To make the bread:
Generously grease two standard size loaf pans and set them aside.

In the large bowl of your mixer, using the paddle attachment on lowest speed, mix together 4 and 1/2 cups of the flour, along with the yeast, brown sugar, salt, and spices. Add in the water, milk, eggs, pumpkin, and oil. On medium speed, mix for two minutes. Scrape the bowl and beaters and sprinkle in all of the raisins; mix them in on low speed.


Add in the rest of the flour gradually, still on low speed. Switch to the dough hook and knead on lowest speed for about three minutes, or dump the dough out onto a well-floured surface and knead for several minutes by hand, until the dough is smooth and elastic.


Put the dough into a greased (or oiled/sprayed) bowl and turn it so it's coated all over. Cover the bowl tightly with a greased piece of plastic wrap, and cover that with a dish towel. Place the bowl in a warm spot and let the dough rise until it's doubled, about one hour.


Dump the risen dough out onto a very lightly floured work surface. Deflate the dough gently by pressing on it, then cut it into two equal portions with a bench knife or a sharp chef's knife. Round each portion, then cover them both with greased plastic wrap; let the dough rest like this for about 10-15 minutes.


Uncover the pieces of rested dough, and form each one into a loaf shape, being careful to tightly pinch closed all seams. Place the dough into the pans, cover them with greased plastic wrap and place them in a warm spot.


Let them rise until almost doubled, about half an hour or so (the dough should rise just above the top of the pan). Preheat your oven to 375 degrees.

Before putting the risen loaves into the hot oven, mist the tops well with water (or, dampen your hands with water and gently pat the water onto the loaves). Open the oven door and squirt your mister into it a few times quickly (aim away from the oven light). Put the pans in the oven on the middle shelf. Bake for at least fifteen or twenty minutes before you open the oven again to peek at the loaves. At that point, if they appear to be browning too quickly, lay a piece of foil over them lightly. Bake for about 30 minutes total, or until a stem thermometer poked deeply into the bottom of the loaves reads at least 190 degrees. They should be deeply golden brown.

Remove them from the pans immediately and put them on a cooling rack. Melt about three tablespoons of unsalted butter, and brush it generously over the warm loaves; it will quickly soak in.


To make the glaze:
In a medium bowl, stir together the confectioner's sugar and water/milk until it's completely smooth; add in more liquid or sugar, a little at a time, until it's the consistency you prefer. Drizzle the glaze over the baked loaves, waiting until they're no longer hot or the glaze will melt right off. (If you prefer, you could add a few drops of vanilla extract or almond extract in for added flavor, or even a pinch of ground cinnamon.)


(If you'd like to comment on this post, or to read any existing comments, please click on the purple COMMENTS below.)

Thursday, October 27, 2011

Fluffy Pumpkin Muffins with Coconut and Pecans . . . Get a Handle on Your Pumpkin!


A few weeks ago rumors circulated that there might be a pumpkin shortage again this fall. Did you hear that, too? I'd expected that might be true for some of the storm-battered eastern states, but I decided to check the Michigan State University agricultural extension service site and here's what it said, "Reports of lower than average yields of pumpkins are coming in, but the quality of the fruit and 'handles' is excellent." 


Isn't it cute how they refer to the pumpkin stems as "handles"? Pumpkin farmers must be fairly whimsical folks, don't you think?

Anyway, whenever I happen to meander down the baking aisle this time of year I try to remember to grab one or two of the plump orange cans. Can't let October slide by without producing at least one batch of really good pumpkin muffins.


In light of that, I thought I'd take the opportunity to try out a slightly adapted version of the pumpkin muffins in Sarabeth's Bakery: From My Hands to Yours, by Sarabeth Levine. Even if I've mentioned this book to you in the past, I have to say again how sumptuous it is. It's a large, lush book with recipes that are not only well written, but simply-structured. Nothing real way out and exotic, just page after page of enduringly appealing recipes. And even if you never bake one thing from it (but why would you not?), it's pretty enough to live on your coffee table.


For these muffins, I followed Levine's basic recipe but decided to omit the raisins and sunflower seeds altogether (my younger son, Nathan, heaves a pathetic sigh whenever I add raisins to anything), added in some chopped sweetened coconut and pecans instead, slightly increased the amount of salt, and reworded the instructions. The assembly process is not like that of a typical quick bread, but more reminiscent of the way you'd assemble batter for a butter-based cake. You'll definitely need your mixer. These muffins puff up beautifully and aren't overly sweet. They call for pastry flour, which can be tricky to find though I see it with increasing frequency in gourmet markets and in health food stores, and superfine sugar, which seems to be more readily available now in regular supermarkets (the kind I buy comes in a paper carton). I assume these muffins would still be really good even if made with all-purpose flour and regular granulated sugar.


Pumpkin Muffins with Coconut and Pecans

(For a printable version of this recipe, click here!)

Yield: At least 12 generous regular-size muffins, or at least 24 minis

Preheat oven to 400. Grease, butter, spray with vegetable spray, or use paper liners in a 12-cup muffin pan or a 24-cup mini-muffin pan. (I just used paper liners for mine, but I sprayed the top of the pan--not the cups--so the muffin tops wouldn't stick.)

3 and 2/3 cups pastry flour, sifted
1 Tbsp. and 1 tsp. baking powder
1 tsp. ground cinnamon
1/4 tsp. ground ginger
1/4 tsp. fresh ground nutmeg
scant 1/2 tsp. fine sea salt (Or use kosher salt.)
1 stick unsalted butter, cold and cut into 1/2 inch chunks
1 and 1/3 cups superfine sugar
4 eggs, large, at room temperature, and lightly beaten
One 15-oz. can of solid-pack pumpkin
1/2 cup pecans
1/2 cup sweetened, shredded coconut

In a large bowl, sift together the flour, baking powder, cinnamon, ginger, nutmeg, and salt. Set aside.

Mix together the coconut and pecans. Roughly chop them on a cutting board, not too finely. Separate out 1/4 cup to sprinkle over the unbaked muffins.

In the large bowl of your mixer, beat the butter on high speed for approximately one minute, until it looks creamy. Slowly add in the sugar, still on high speed, and beat until its color lightens and it looks kind of fluffy; this should take about 5 minutes. Be sure to stop and scrape bowl and beaters periodically.

Add in the eggs gradually, beating until well combined. On low speed, add in the pumpkin. Don't worry if the mixture looks curdled. Still on low speed, add the flour in thirds, beating just until smooth. Pour in the 3/4 cup of chopped coconut and pecans pieces and blend just until evenly combined.

Using a portion scoop (an ice cream type scoop), divide the batter evenly into your muffin cups, mounding it high. Sprinkle the remaining 1/4 cup coconut-pecan pieces over the tops.

Bake at 400 degrees, on the middle rack of your oven, for 10 minutes; lower the temperature to 375 and continue baking--perhaps 10 to 15 more minutes--until the muffin tops are nicely golden and a toothpick inserted in the center of one of the muffins comes out clean.


(If you'd like to comment on this post, or to read any existing comments, please click on the purple COMMENTS below!)

Friday, November 13, 2009

Homemade Pumpkin Ice Cream with Crispy Ginger Cookies . . .

Remember that ice-cream making attachment that I bought for my KitchenAid mixer a few months ago? I first talked about it in June, when I made mango ice cream--does that ring a bell? Well, anyway, since I got it I've tried about five ice cream recipes, only two of which were really very good. One of the good ones was produced this week--that would be pumpkin ice cream.

Now, before this morning, I can assure you I'd never tasted pumpkin flavored ice cream before in my life, nor ever craved it. I know I've never considered ordering anything like it in an ice cream shop, when faced with 31 or more predictable flavors (doubtless I'd pick something chocolatey and very chunky; that seems to be my ice-cream shop M.O.). But, I must say I'm pleased with the way this recipe turned out. It's truly interesting, and seems to have layers of flavor. There's a little grated orange zest in it, and that brightens the taste in a subtle way. It's not like pumpkin pie filling frozen on a stick, in case you were wondering. (Were you wondering?)

There seem to be quite a few variables that affect the success of homemade ice cream, most of which I simply haven't figured out yet. Some recipes contain a cooked custard mixture, others might contain a bit of corn starch, some contain boatloads of heavy cream, while others . . . well, you get the drift. What determines what will help to thicken some ice creams beautifully but not others? Je ne sais pas. (Beats me.) No, I haven't cracked the code yet as to why some recipes work well and others leave much to be desired, but I'm workin' on it. (I think I'd better put David Lebovitz's book The Perfect Scoop on my Christmas list--based on reader reviews, that seems to be the last word lately on great homemade I.C.!)

In keeping with the ubiquitous autumnal theme (there is an autumnal theme that's just raging in food/baking blogs lately . . . raging, I tell you) I figured ginger cookies would complement the pumpkin nicely, so I made a few this morning and they do indeed mesh well. The cookie recipe is one that I adapted from Gourmet magazine, in the December 1998 issue, for "Swedish Ginger Thins." (Poor Gourmet . . . you've probably already heard over and over that the magazine's just closed up shop. What a pity and a shame.) They're really very much like ginger snaps, except not rock hard and super crunchy. In fact, these are nicely crispy on the outside, in a tender sort of way, and a little bit soft and chewy on the inside. They're so thin, I'm not quite sure how they accomplish that feat, but they do.

These are cookies that are designed to be rolled out and cut with a cutter, but that can be a hassle with this type of very sticky, soft dough (even when properly chilled, this type of dough gets soft again at the speed of sound). I made a few of them that way, but then decided to just scoop the rest and press them down with the bottom of a glass dipped in sugar, in the interest of time and sanity. Those would be the round ones you see in the photos.

I altered the recipe just a bit, by racheting up the ground ginger, racheting down the ground cloves, adding a smidgen of salt, and omitting the almonds entirely. I also revised the instructions slightly. They indicate, for eg., that you should use a rolling pin cover and a pastry cloth--I assume because of the stickiness of the dough. I don't know about you, but I don't routinely use those items, and though I own a rolling pin cover I don't even remember where it is!

The ice cream recipe came from the book Ice Cream and Frozen Yogurt, by Gar and Mable Hoffman, and it couldn't possibly be simpler. The only thing I'd do differently, if I were to make this recipe again, would be to strain the liquid ice cream mixture before it goes into the fridge to chill.

Pumpkin Ice Cream

(For a printable version of this recipe, and the ginger cookie recipe below, click here!)


16 oz. of canned pumpkin
1 cup brown sugar, packed (I used light brown)
1/4 tsp. ground cinnamon
1/8 tsp. ground nutmeg (I used fresh grated nutmeg)
1/4 tsp. ground ginger
1 cup half & half
1/2 tsp. grated orange zest
2 cups heavy cream

Combine all ingredients in a large bowl. Chill or freeze according to your specific ice cream maker's instructions. (For the KitchenAid attachment, I chilled the liquid for at least a full day in a glass bowl before churning it in the ice cream attachment; then I poured that into a glass container, covered it, and froze that for a full day before serving it. It gets very firm.)

Crispy Ginger Cookies

3 cups All Purpose flour
1 and 1/2 tsp. baking soda
1 and 1/2 tsp. ground cinnamon
2 tsp. ground ginger
1/2 tsp. ground cloves
1/2 cup well-chilled heavy cream
1/2 cup unsalted butter, softened
1 cup granulated sugar
1/2 cup dark corn syrup

In a medium bowl combine the flour, baking soda, spices, and salt. Set aside.

In a small/medium bowl with an electric mixer, beat the heavy cream until it just forms firm peaks. Set aside.

In a large mixer bowl, with the paddle attachment, beat the butter and sugar together until light and fluffy. On low speed, add in the corn syrup and the whipped cream, beating just until combined.

Add the flour mixture and beat until well combined.

Form the dough into a disk, and chill it in the fridge overnight, or in the freezer for an hour or so. Preheat your oven to 400 degrees and line your cookie sheets with parchment paper.

Cut the dough into quarters and work with one section at a time, keeping the others in the fridge while you work. If you want to use cookie cutters, roll out the dough to about 1/4" thickness, space the cookies at least 2" inches apart, and bake for about 7 minutes.

If you'd prefer not to use cutters, use a small scoop to portion your cookie dough. Dip the dampened bottom of a glass in sugar and press that into the top of the cookies to flatten them a bit. They'll spread out quite a bit on the pan. Bake them for about 7 minutes.

Let your cookies cool on the pan until they seem stiff enough to move to cooling racks.

Yummy with milk, or how about with pumpkin ice cream?


(If you'd like to comment on this post, or to read any existing comments, just click on the purple COMMENTS below!)

Tuesday, October 27, 2009

It's All About the Pumpkins . . . and the Pumpkin Raisin Muffins . . .

If I received a cupcake for every single time within just this past week that I've either heard, read, or spoken the word "pumpkin," I think I'd have enough inventory to open a bakery. Halloween week really seems to be all about the pumpkins. In light of this fact, how could I not jump on the big, round, bright-orange band wagon? I just had to do it. I jumped right on up there, and the view's very nice, very colorful.

I don't think I have ever made pumpkin muffins of any kind before (either that or I just blanked it out of my memory for some reason that's been lost to history), so I was really pleased with the way these turned out. On a whim, I made them in mini-bundt pans, and dog-gone if they don't look even more pumpkin-like than I'd anticipated.

You might say these muffins are kind of two-faced. Put them bundt side up and they look like, well, little bundt cakes masquerading as pumpkins. Flip them over and they look pretty much like a nicely convex traditional muffin, with that beautiful golden glow that just seems to scream "October! Falling leaves! Goblins and ghosts! Get out the rake!" (You know the glow I mean? . . . it's a pretty hue, isn't it?).

The recipe I used is one I adapted from Elizabeth Alston's little book called, appropriately, Muffins. It's one of at least two books she wrote that focus on a nice sampling of breakfast foods, especially breakfast breads (scones, biscuits, etc.). I altered the formula for her pumpkin chocolate-chip muffins. I used raisins instead of chocolate chips, and I changed the spices, leaving out her recommended pumpkin-pie spice entirely. (I don't have any of that, and what's in it anyway? One just never knows.) I used cinnamon, ginger, fresh nutmeg, and a pinch of ground cloves instead--not too much of any one spice. Her recipe also called for almonds, which I've omitted. Oh, and I doubled her recipe and rewrote her instructions.

Anyway, it's a really good recipe and I'd definitely use it again. So, without further ado, I offer my own contribution to the ever-enlarging family of pumpkin muffins. Happy Halloween!

Pumpkin Raisin Muffins

(For a printable version of this recipe, click here!)

Preheat oven to 350 degrees. Use baking spray to coat two mini-bundt pans that produce 6 minis each. Or, use a couple of regular muffin pans (for approximately 16 regular size muffins). Use paper or foil muffins cups, or grease the muffin cups well. No mixer is needed for this recipe.

3 and 1/3 cups All Purpose flour
2 cups granulated sugar
2 tsp. baking soda
1/2 tsp. baking powder
1/2 tsp. salt
4 large eggs
2 cups canned plain pumpkin
1 cup unsalted butter, melted
1 and 1/2 cups raisins
1 tsp. ground ginger
3/4 tsp. cinnamon
1 pinch of ground cloves
Scant 1/2 tsp. freshly grated nutmeg

In a large bowl, thoroughly combine the flour, sugar, baking powder and soda, spices, and salt.

Break the eggs into another bowl and lightly stir them to break them up. Add into that the melted butter, pumpkin, and the raisins. Stir well to completely combine.

Make a well in the center of the dry ingredients. Pour the wet ingredients over the dry ingredients in the large bowl. Fold together until everything is just moistened. Don't overmix.

Scoop the batter evenly into your pans.

Bake for about 20 minutes or so, until golden and a toothpick inserted in the center comes out clean. Turn out onto a rack to cool.

Aren't they cute? See, I told you so. Okay, now take a bite of one . . . yummy, yes? Enjoy!


(To comment on this post or to read any existing comments, just click on the purple COMMENTS below!)